Whether or not you are printing t-shirts as a hobby or starting a small business on the side, you want to print the best quality shirts you can for the money. I believe there are ten items you need to be successful:
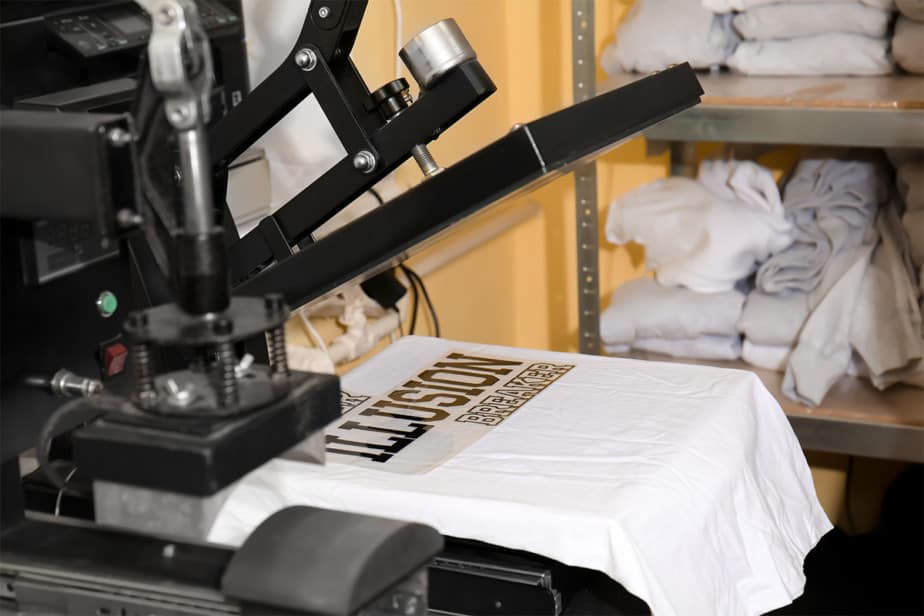
1. Heat Press
2. Sublimation Printer
3. Vinyl Cutter
4. Alignment tools
5. Teflon Sheets
6. Teflon Pillows
7. High-Temperature Foam
8. Specialty Platens
9. Weeding Tools
10. Tables
I started printing t-shirts back in high school to earn extra money. Honestly, the shirts I was printing back then were pretty pathetic compared to what I can print these days. I was using a borrowed screen printing frame that I would have to stand on to keep it in contact with the shirt. Since I didn’t have the money or the knowledge to use photo emulsion to create screens I was using contact paper and an X-Acto knife. I would painstakingly cut every letter and shape out by hand.
As time went by my shirts got better and better, and my skills increased because I spent hours and hours learning how to better my printing and as I earned money I invested in new and better tools. I still work out of my home, but I have invested thousands of dollars in equipment that has increased my output and quality. I print upwards of 15,000 t-shirts out of my garage every year so I have learned a lot over the last 30 years and I would love to share some of my knowledge with you.
In this article, I would like to share with you the ten tools you need to get started in the t-shirt business or get really into a great hobby. One thing I can tell you is that having the ability to print t-shirts has opened a lot of doors for me. Custom t-shirts make great gifts, or you can print them as a favor to local businesses or co-workers. They are a great networking opportunity, and that is how I have grown my side hustle into a significant income.
On with the tools I highly recommend you have:
1. Heat Press.
Because screen printing requires so much specialized equipment, such as a screen printing machine, a dryer, multiple colors of ink, squeegees and more. I would invest in a high-quality heat press and use vinyl transfers and plastisol heat transfers that someone produces for you. I recommend Geo-Knight heat presses, and my favorite is the DK20S. You can read more about why in the article about the DK20S swing-away heat press. I also purchased a heat press for hats that I use to print on the sleeves of short sleeve t-shirts. It has increased my output on sleeve prints immensely.
2. Sublimation Printer.
A sublimation printer is a great investment because you can use it for t-shirts, mugs, cell phone cases, and so much more. Your product line-up with increase exponentially. I still have a full-time job, and the ability to print custom coffee mugs for co-workers and VIPs who come to visit has turned into a cash machine for me. I now ship coffee mugs all over the world. One thing I can tell you is that when someone stops by for a visit and you have a coffee mug with their name on it they truly appreciate the effort and the sentiment. I am currently using a Ricoh GX7000 printer with a bypass tray for 13×19 inch paper. This comes in handy for printing t-shirts with larger prints. You can read more about sublimation in What Is Sublimation Printing?
3. Vinyl Cutter.
A vinyl cutter to create your transfers at home when you are doing small quantity orders or need to knock the shirts out in a hurry. I use a Graphtec CE6000 that cuts 15-inch rolls of vinyl. You can even do multiple colors with vinyl by layering the vinyl. You want to limit it to 3 layers. Otherwise, it starts to get really thick on the t-shirt.
The first three items on the list are spendy, but depending on your budget you can upgrade or downgrade from the equipment I am using. Next, we will look at the tools and accessories that will increase your productivity and the quality of your t-shirts.
4. Alignment Tools.
You will definitely need some sort of alignment tool to get your prints centered and straight. I started off using a square purchased at Home Depot. I struggled to keep things straight it worked great to center the heat transfers, but I found that a few of the prints end up being crooked. I now use a Tee Square It for aligning the full front and back prints. Another great tool for alignment is the logo grid which works great for small chest logos that are printed in the pocket area. Again with these types of tools, you can go cheaper or even upgrade to a laser system that will take much of the guesswork out of the equation.
5. Teflon Sheets.
Teflon sheets of various sizes are a must. Also, you will need a Teflon cover for the bottom plate of your heat press. Without it, the foam pad is likely to retain some of the sublimation ink, and it will cause ghosting on the next shirt printed. Don’t make that mistake as I did. I lost a lot of money on that job. You will want a few different sizes of Teflon sheets. It is important that the sheets are bigger than your heat transfer. Be wary of where you buy Teflon sheets, the t-shirt printing supply companies put quite a premium on them, but I have found them on Amazon for significantly less.
6. Teflon Pillows.
These are great for printing on apparel with zippers and buttons. The high pressure and heat on plastic buttons and zippers can be disastrous. I have melted more than a few buttons and zippers. If you plan to print on 100% polyester shirts you must have various sizes of Teflon pillows otherwise you will have permanent print lines on your shirts. When sublimating shirts and using a Teflon pillow, it must be slightly small than the transfer paper (this is why you need a few different sizes). You want the paper to hang over the edge of the pillow, so it stays just above the fabric when pressing.
7. High-Temperature Foam.
High-temperature foam can be used in place of Teflon pillows when you have odd shapes prints odd size prints. It can be a bit expensive, but it is reusable but not forever. I have found that after 50 pressing it doesn’t rebound back to its initial thickness. So try to use Teflon pillows whenever you need to.
8. Specialty Platens for your heat press.
I recently invested in some smaller platens for my 16×20 inch heat press. I started printing more youth size t-shirts and needed something small enough to not leave press lines on the shirts. I have a 12×14 inch platen and also a long sleeve platen. The long sleeve platen has been a great investment, before this purchase, my long sleeve prints were sub-par due to the inside seam of the shirt. Not anymore. Most heat press manufacturers have heat presses that will accommodate multiple platen sizes and types.
9. Weeding Tools.
Vinyl weeding tools. A must if you have a vinyl cutter. Read more about weeding here. Buy quality tools; they will help and keep you from getting frustrated with this tedious process. An extra tip: have a lint roller handy to catch all the small pieces of vinyl. Pick the vinyl with the weeding tool and press against the lint roller, and you won’t have stray pieces of vinyl all over your backing. I recommend this set of weeding tools. It has everything you need to get the job done with minimal effort.
10. Tables.
This one might seem strange, but you will need multiple tables or at a minimum a good size workbench. If you don’t invest in the stand with wheels for your heat press, you will need a solid table or a wood bench you can bolt your heat press too. The tables will come in handy when you need to have your alignment tools, heat transfers, and t-shirts accessible and in proximity to your heat press. You will also need an additional table for folding the shirts when you are done. I would purchase a heavy duty plastic folding table, so you can put them away when you don’t need them.
Conclusion
This list may have you concerned about the initial cost of everything you need to get started, but you can purchase many of the things as you go. I added pieces as I made more and more money. At a minimum, you will need a heat press and alignment tools